
Step-by-Step Fall Eyeshadow Tutorial to Embrace Seasonal Beauty
Fall colors for the year are bold and brilliant to bring about vibrant vibes to counter the nip in the air! Hot pink, blaring neon, dark blue, or lime green, there is much you can experiment with for your eyeshadow looks! But, what is the best method to follow to bring out the best fall eyeshadow look? Our expert has laid out the comprehensive fall eyeshadow tutorial for you to ace any eye makeup look. Keep reading and get the steps right to look like the bright and beautiful diva that you are!!!
Table of Content
- Step-by-step fall eyeshadow tutorial to achieve a gorgeous eye look
- Start by cleaning and priming the skin
- Give the lids a nude base
- Add color to the lids
- Define the cut crease
- Create a color gradient (optional)
- Coat the lashes and fill the brows
- List of products to achieve fall eyeshadow look
- Wrapping up
Step-by-step fall eyeshadow tutorial to achieve gorgeous eye look
This fall add that element of drama to your face by highlighting, lifting, and defining your eyes! However, you must follow all the steps to amp up the look. Scroll down and see all the steps of our expert basic fall eyeshadow tutorial!!!
1. Start by cleaning and priming the skin
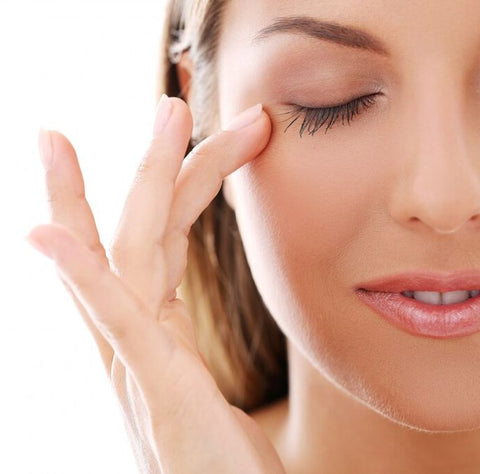
We begin this fall eyeshadow tutorial by highlighting the basics that is cleaning and priming of the skin around the eyes! This ensures that the skin is ready to display the colors of your eyeshadow look in all its brilliance!!!
How to clean and prime the skin:
- Take a skin cleansing agent that is soft and gentle, preferably the hydrating type, as the skin around the eyes is very delicate. If you're wondering how to hydrate your eyelid properly, using a hydrating cleanser is a good starting point.
- Clean the skin around the eyes using the cleansing agent and wipe off all remnants using cotton.
- Now, take the transparent shade from the 8 Color Eyeshadow Base Primer collection and apply the product as dots on the eyelids and around the eyes.
- Gently blend the primer into the skin and let it absorb for a few seconds before you apply anything else to get the smooth silky finish.
- Apply a very light dust of loose powder on the area to seal this base and matte it up for the eyeshadow colors to show well.

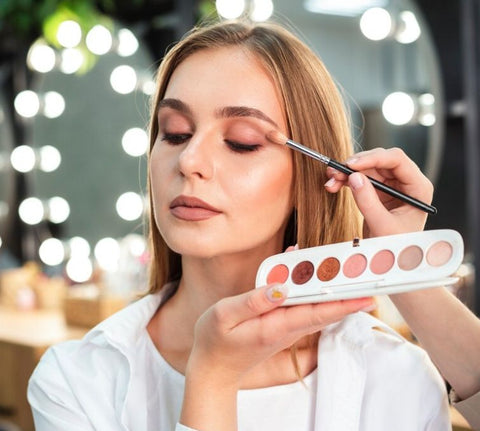
2. Give the lids a nude base
Moving on with the application part of our fall eyeshadow tutorial, we now give the lids a nude base that is of course much-needed base! Having a base nude color helps attenuate any other color that you wish to wear as your fall eye makeup look!!!
How to give the lids a nude base:
- Take the DE’LANCI 18 COLORS Nude Smoky Eyeshadow Palette and use your eyeshadow brush to take the nude matte color Blush or Adzuki as per your skin tone.
- Make sure to apply a light coat of the color and let it blend in with your skin tone as close as possible.
- Apply it at the center of your eyelids and blend it in all directions for a homogenous play of color all around.
- Take the nude color right up to the brow bone going beyond the cut crease so that you have an extended base as in Hailey Bieber’s Strawberry Makeup Look.
3. Add color to the lids
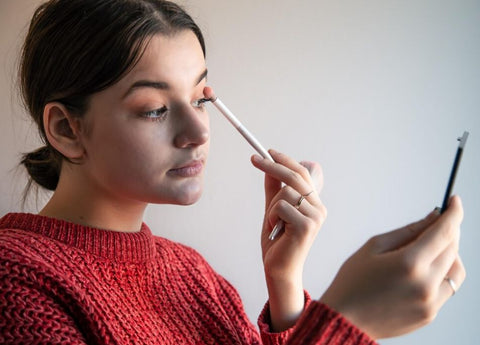
The next step in the fall eyeshadow tutorial is to add color to the lids, that is, the main part of the makeup look! This is when you start applying the colors of your choice for your fall eye makeup look, so do it right!!!
How to add color to the lids:
- Choose a color from the DE’LANCI 24 Color UV Blacklight Aurora Glow Neon Eyeshadow Palette Glow in the Dark palette as per your overall makeup look and outfit.
- Take a medium eyeshadow brush to take the color from the palette and gently tap off the excess before applying to the eyelids.
- Now, apply the color at the center of the lids and blend more outwards for a deeper shade and less inwards to keep it lighter.
- Take care to restrict the flow of the color on the eyelids going up to the cut crease only for the best look.

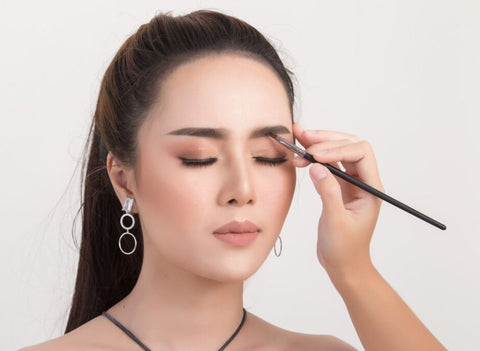
4. Define the cut crease
This stage of the fall eyeshadow tutorial involves a fine nuance that will elevate the eye makeup look instantly. Using the right makeup tools and moving it to the precise part is the key to the success of this stage!!!
How to define the cut crease:
- Time to add more definition to the eyeshadow look by defining the cut crease area using a thin-tipped brush.
- Take the appropriate tool from the DE’LANCI Blending Makeup Brush Set to take the color that is a couple of shades darker than that you applied on the eyelids.
- Now, apply it on the cut crease area and go slightly beyond just below the brow bones to give it a darker shade.
- Blend it well so that the transition of the colors looks seamless, alternately, you can just define the cut crease with a lining of the color for a subtle look.
5. Create a color gradient (optional)

We come to the part of the fall eyeshadow tutorial that will definitely amp up your eye makeup look but is optional as it is meant for gala evenings! It involves giving the eyes a smoky look by incorporating a darker look around the edges!!!
How to create a color gradient:
- You will be creating a smoky look in this step, so take a medium eyeshadow brush to take a dark black, brown, or any other deep shade of your choice.
- Once you tap off the excess pigment off the brush, apply it on the outer edge of the eyes only.
- Now, start blending the color outwards very carefully so that there is an even transition of the shade.
- Use the same color to line the lower lash line and smudge it to soften the look and also extend the colored makeup area.
- Blend the colored line of the lower lash line with that of the outer eye area that is best matched up with Nude Lipstick Looks!

6. Coat the lashes and fill the brows

We come to the final stage of the fall eyeshadow tutorial where it’s time to frame the eyes and add depth to them. Know how to give the eyeshadow colors that extra pep-up with these steps!!!
How to coat the lashes and fill the brows:
- Give your eyes the much-needed frame by defining and filling your brows; brush them outwards first.
- Now, fill the brows if they are sparse by applying a brown eyeshadow color using a thin brush.
- Move on to apply a coat of mascara on the lashes and let it dry; dust a little loose powder on them after that.
- Now, reapply another coat of mascara and let it dry out to get thick and voluminous-looking lashes.
List of products to achieve a fall eyeshadow look
Now that you know how to create the best fall eyeshadow look for the day or the evening, it’s time to keep at hand the essential items! Here’s the list of products you’ll need for the best fall eyeshadow looks 2023!!!
- 8 Color Eyeshadow Base Primer
- DE’LANCI 18 COLORS Nude Smoky Eyeshadow Palette
- DE’LANCI 24 Color UV Blacklight Aurora Glow Neon Eyeshadow Palette Glow in the Dark
- DE’LANCI Blending Makeup Brush Set
Wrapping up
With the detailed fall eye makeup tutorial in hand, it’s time to step out confidently in this season 2023! Keep your makeup gear and the DE’LANCI Nude Smoky Eyeshadow Palette handy to work out any subtle or even glittering eyeshadow color look at any time. Do let us know if you wish to add any other details to this tutorial. Also, tell us if you wish to add some other makeup in the fall makeup tutorial with different colors in the comment section below, and we’ll add it to our blog!!!